


BFR Blog

How To Take A Lip Selfie by Aubrey Boyle
Written by Guest Beauty Blogger Aubrey Boyle @maidofbeauty
Want to learn how to 'UP' your lip-selfie game? Read on. Lip product junkies LIVE for those swatches. Swatches are typically just a quick swipe on the inner forearm. But as you can tell from social media, makeup artists and beauty enthusiasts have taken it to a whole new level. We all want those crisp, even, smooth-skinned photos. WAAAA!! How do they do it? I'm here to tell all - Revealing some tips and tricks of my very own.
Bright as midday ...
Natural light or artificial? Well...both! I use artificial lighting, mainly because I do all my makeup, swatches and lip art at night (two kids = zero time for makeup play during the day). I'm not saying you have to go out and buy lighting, but if you're ever in the market for it, Glamcor and Diva Ring Light have some amazing lights.
For natural light, find the biggest window in your home that brings in the most light, or just step outside.
I spy ...
There is nothing more awkward and distracting than having your gallery wall in the background of your worthy, double-tap Instagram photo. Instead, use wrapping paper, or a yard of sparkly fabric (from Walmart, Hobby Lobby, or Jo-Anne Fabric) and simply adhere it to the wall. All in all, you want your lips to be the main attraction. Of course, you can always have the physical product in the picture as well - Be sure it is not blocking the beautiful application that took you 5 hours. And if you're anything like me, I loath painting my nails. We often fail to notice how they truly look. If you choose to showcase your hands holding the product, keep up with those at-home manicures ...or grab some stylish press-on nails.
You can even be a little flirty. Don't be afraid to blow a kiss, strike an Elvis lip (my fav!), or whatever it is your little heart desires.
Take aim ...
We don't want to see what's up your nose. Angles are key! If you choose to have a full face shown in your lip-selfie, dig into that makeup bag and cover all areas of the face. You want to make sure to tilt your chin down, eyes up, and hold your camera above you. You can also turn your head slightly to the right or left as if you were looking over your shoulder. You can go the other route, of course, a frontal view of just your mouth. When you do this, hold your camera straight out in front of your lips. This is going to you take more than just one attempt. So a tripod (for your phone or camera) is not a bad idea either.
If you use a camera, head on back to that manual that you've never laid a finger on. There you will find different camera settings to really make your photos pop!
Be a perfectionist ...
Let's rewind to the part where it took you 5 hours to apply that lip color. Whether you're showing off a soft pinky-rose, or a vibrant red, some products may make lip creases look more defined.
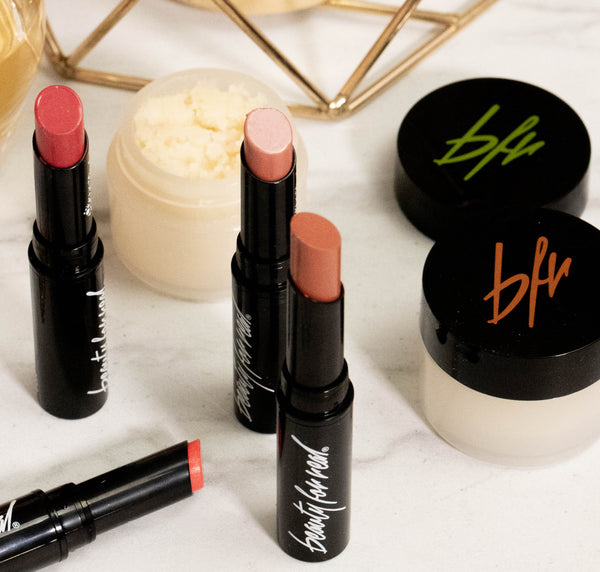
For example, my lips are more on the wrinkly side so I always use: a lip balm (Vaseline Lip Therapy), a lip mask (Nugg Hydrating Lip Mask), oil (Tarte Maracuja Oil), and I ALWAYS exfoliate (Beauty For Real Lip Revival Sugar Scrub) those bad boys. Another great thing to do, is to conceal around the mouth. Take a little bit of concealer (Tarte Maracuja Concealer or Tarte Shape Tape) onto a thin, flat brush (Sigma F66 Angled Buff or Sigma F75 Concealer Brush) and go around your lips and correct any uneven lines.
Tech to the rescue ...
Here's where you can go the extra mile. There is no such thing as perfect skin. I've been an Esthetician and Makeup Artist for 12+ years, and I have YET to see perfect skin, let alone lips. Not everyone can afford Photoshop because let's be honest, everyone edits their photos nowadays. But never fear, there's an app for that! For you iPhone users: Facetune is an app that costs $2.99. There are endless tools in this app, and it's actually pretty amazing. Photos really do look professionally edited. There is also a free version of Facetune called Facetune 2. This one works just as good as the paid version minus some tools here and there. Although, it still gets the job done. For those android users: Airbrush is a wonderful editing app. It reminds me a lot of Facetune 2. And for those laptop/desktop users: Pixlr is a free online editing tool. This is is probably the closest thing to Photoshop, but way easier to use.
And last but not least, roll with it and have fun. Be your amazing, creative, true self - And the rest will follow!
Written by Guest Beauty Blogger Aubrey Boyle @maidofbeauty